Designing a Monogram Logo
Recently I designed a monogram as part of a t-shirt design. I thought it would be a good opportunity to capture and outline my process. I enjoy seeing how things come to life and think this stop motion video helps illustrate my process, from start to finish.
Ideation
The first step of almost all of my projects is to brainstorm and sketch. So, as usual I grabbed a sketchbook and a pencil and got to work. This is my preferred method to jump-start the creative process. It allows for complete freedom and flexibility without the restriction of digital devices.
Refinement
After sketching out multiple concepts I selected a couple that seemed to work the best. From that point I sketched each option multiple times until satisfied. Next I grabbed some tracing paper and inked up the best of the best, taking elements from various options to form a final monogram. Switching to ink helps in the digital phase as it’s easier to see and trace.
Digitization
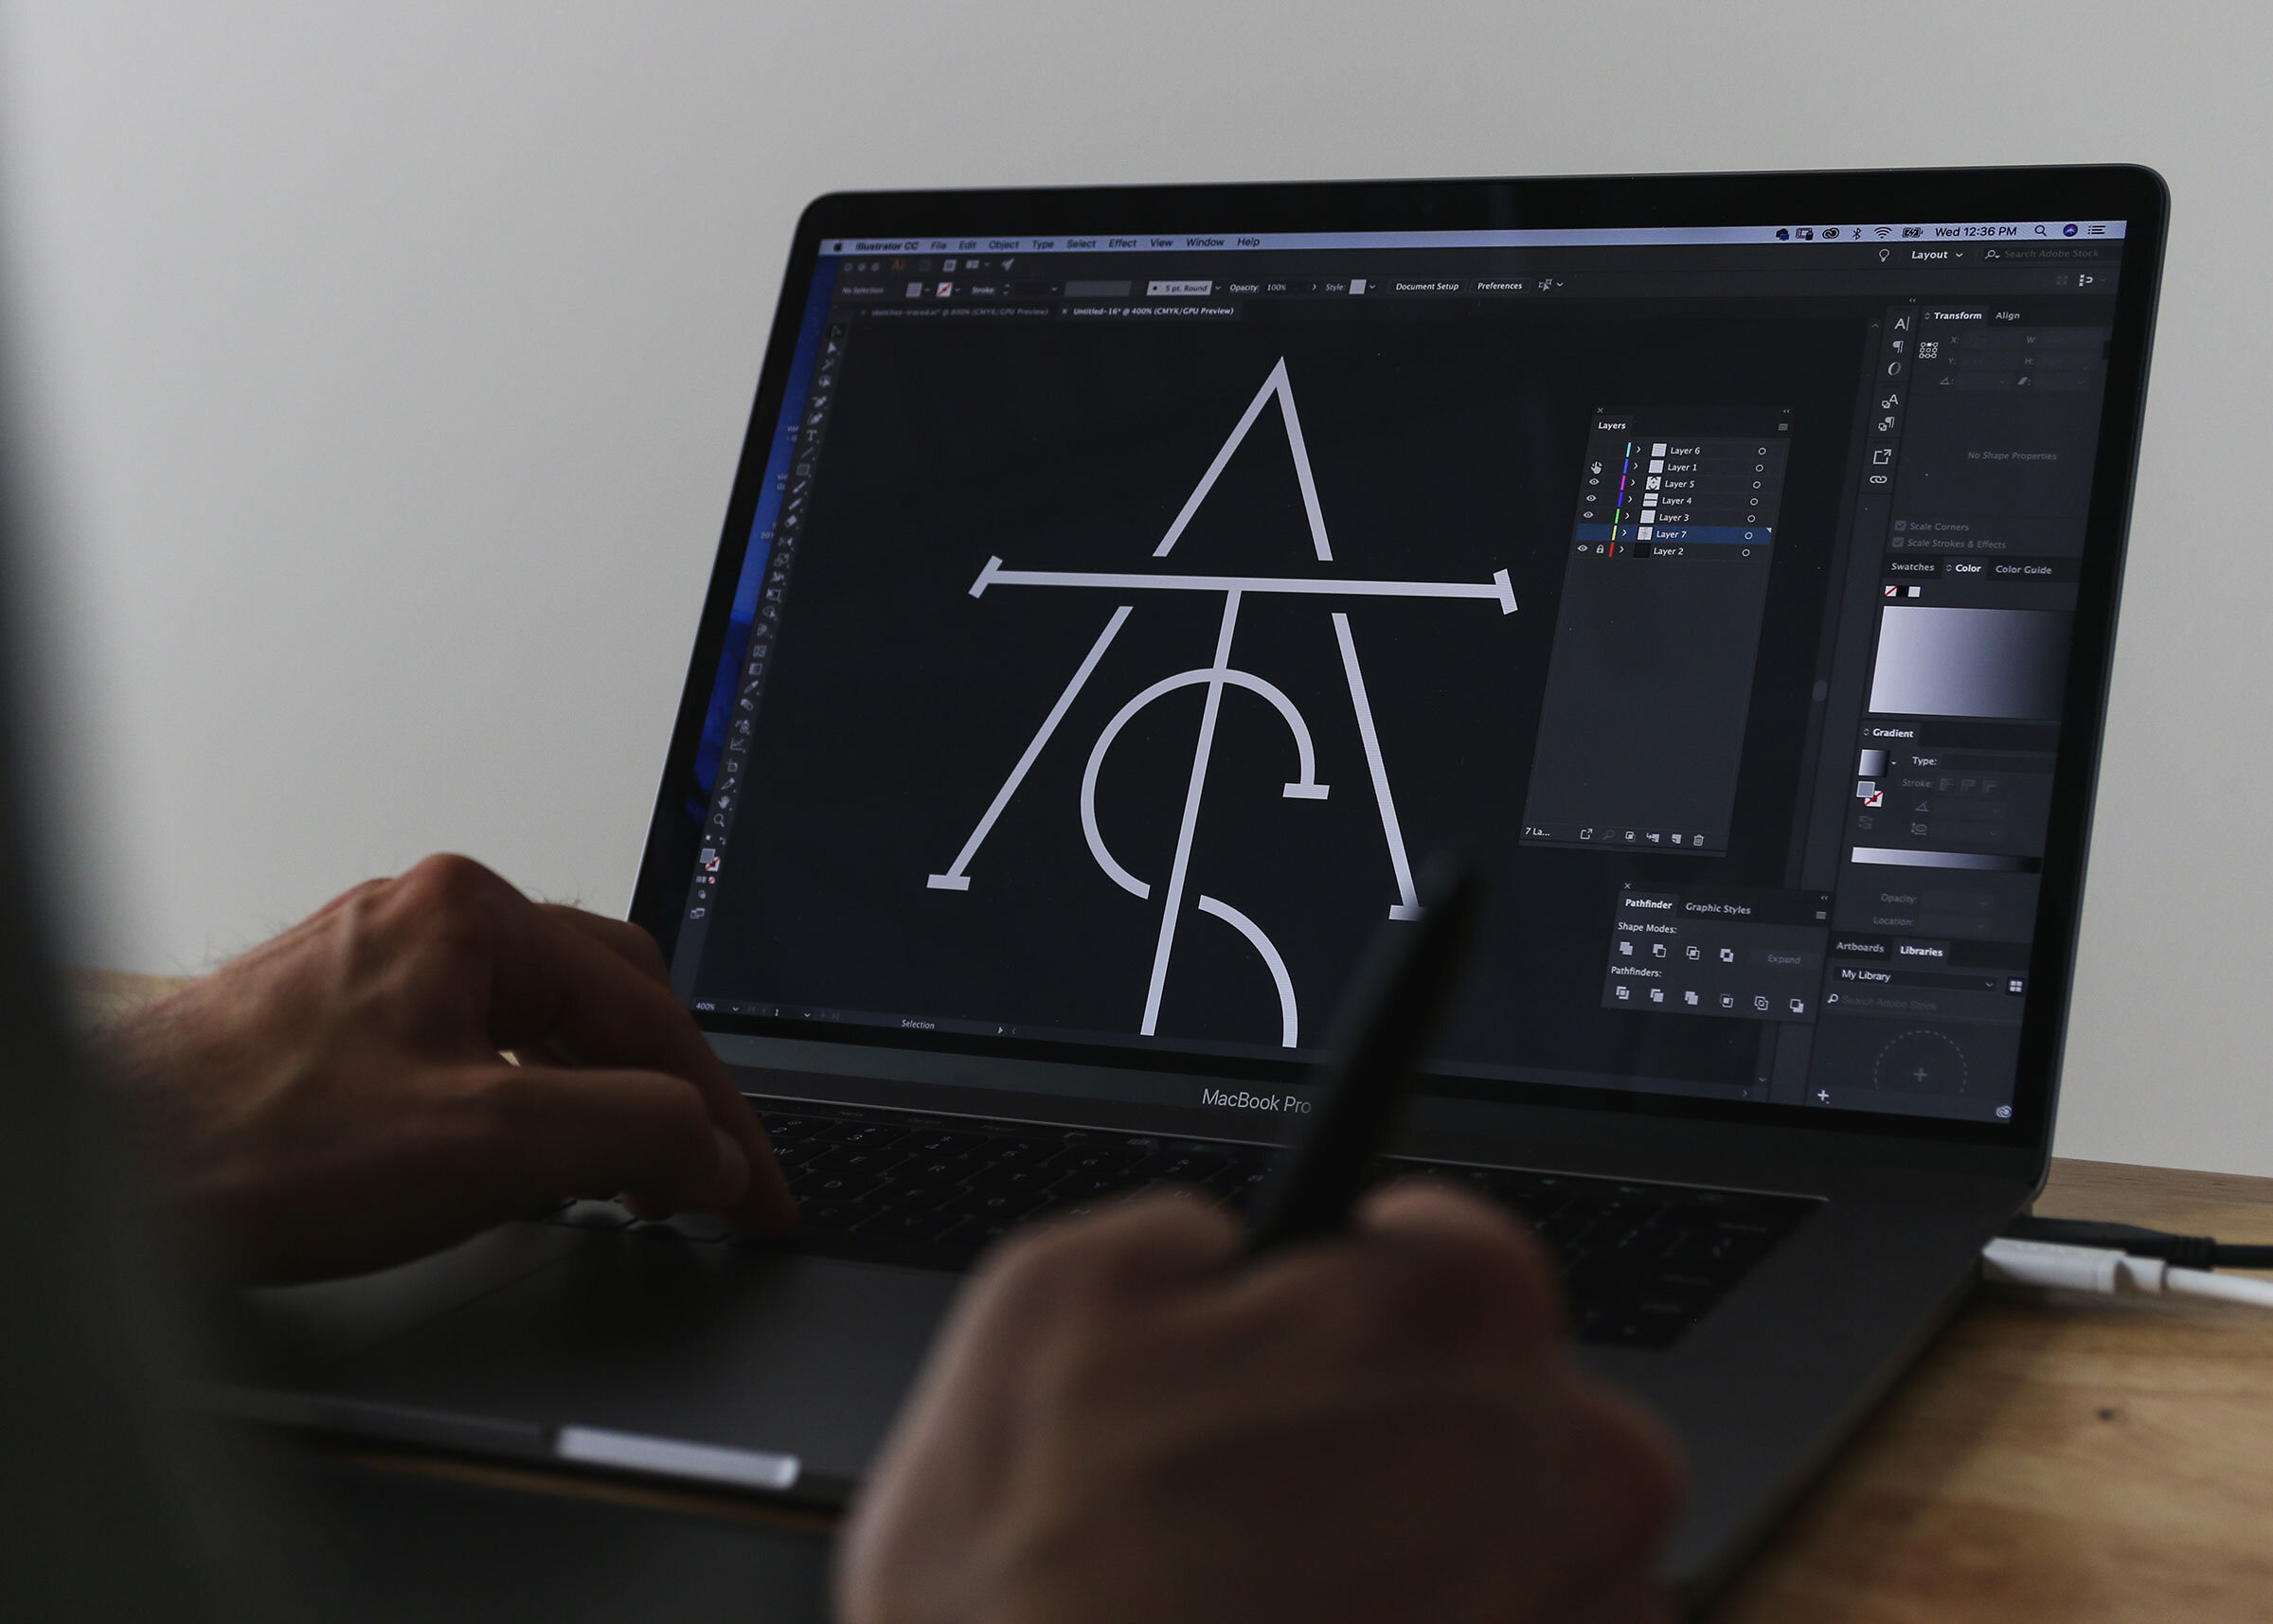
For the last step, I scanned the drawings to prep for the digital process. I fired up Photoshop in order to clean up the sketches and add more contrast. This makes tracing the images much easier. Next I popped the adjusted file into Illustrator and applied a trace to it. If you’re looking for a hand drawn result you can fine tune from here, alternatively you can recreate your sketch within Illustrator with some line work or a brush. You can see various styles at the end of my video.
I hope you enjoyed seeing a snippet of my process for this custom designed monogram. What does your creative process look like?

